
Tutorial: Deploying JBrowse 2 on AWS EC2
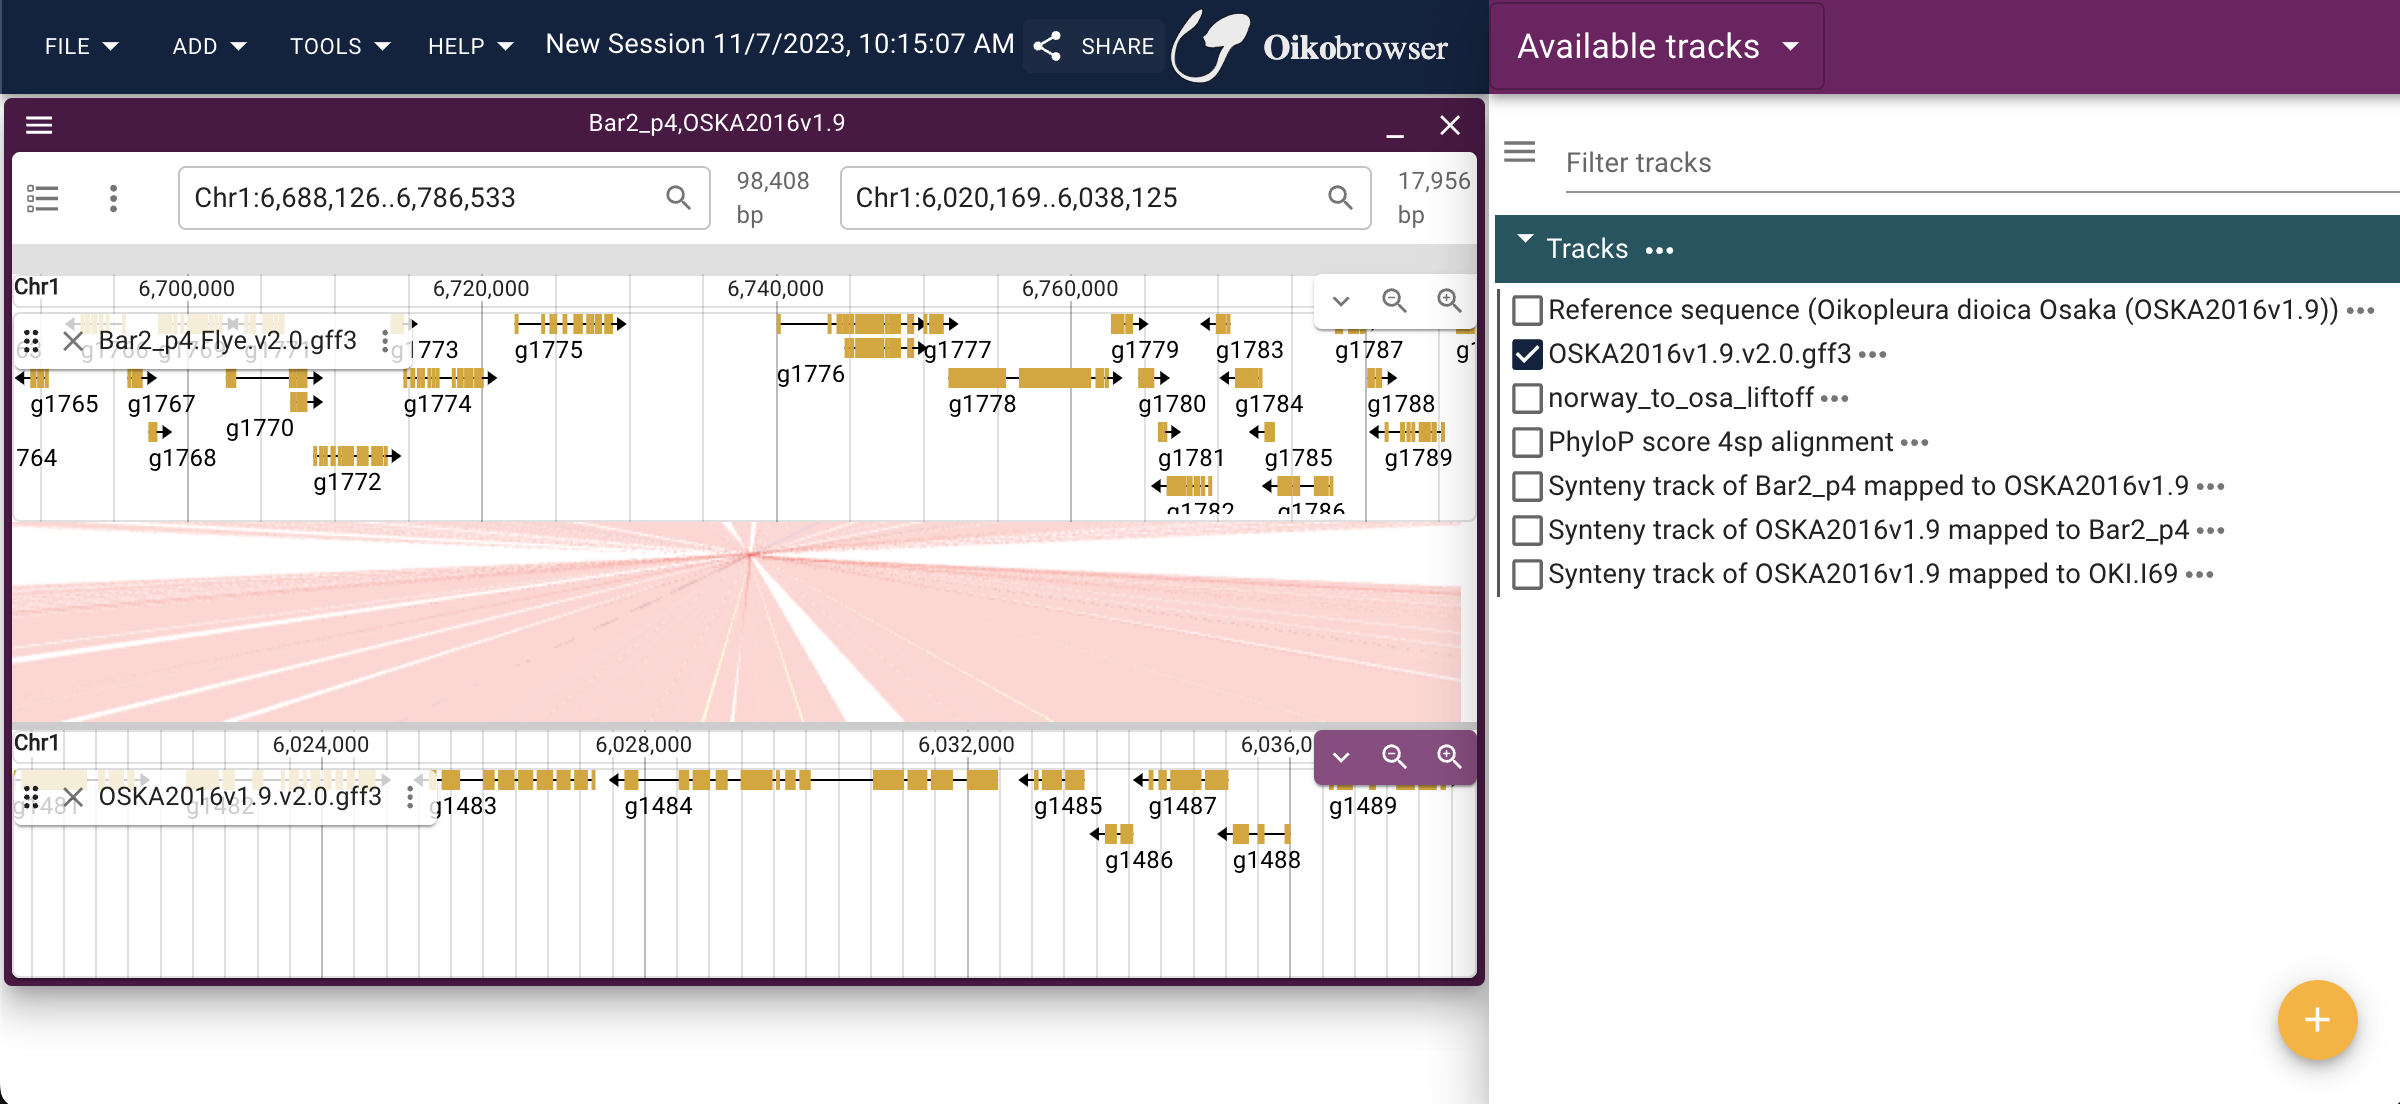
We are working a lot with the genomes of O. dioica, but we don’t have a genome browser that’s easily accessible for collaborative work. So I decided to create a genome browser for different cryptic species of O. dioica based on Jbrowse2. JBrowse 2 is a next-generation genome browser built with web technologies that provide a rich and interactive data visualization platform. This tutorial walks you through each step to deploy JBrowse 2 on an AWS EC2 instance. The finished example is accessible on oikobrowser.jnicolaus.com
Prerequisites
Before you begin, ensure you have:
- An active AWS account.
- Basic familiarity with the AWS EC2 service.
- Understanding of SSH (Secure Shell) for remote access to your EC2 instance.
Step 1: Launching an EC2 Instance
- Sign in to the AWS Management Console and navigate to the EC2 Dashboard.
- Click on Launch Instance to start the process of creating a new virtual server.
- From the list of Amazon Machine Images (AMIs), select an AMI marked as Free tier eligible to stay within the free usage tier.
- Choose a t2.micro instance type, which is included in the AWS Free Tier, and then proceed by clicking Review and Launch.
- Look over your instance choices one last time. Ensure you have selected the appropriate security group settings that allow SSH access (port 22) from your IP address.
- Click Launch and you will be prompted to select an existing key pair or create a new one. This key pair is essential for securely connecting to your instance via SSH.
- Once selected or created, acknowledge that you have access to the private key file and click Launch Instances.
Step 2: Connecting to Your EC2 Instance
- When the instance status changes to running, click on it to view its details, where you can find the Public DNS (IPv4) or IPv4 Public IP.
- Use the following SSH command to initiate a secure connection. Make sure to replace
<YourPublicIP>with the actual IP address or public DNS, and/path/to/your-key.pemwith the path to your private key file:
$ ssh -i /path/to/your-key.pem ec2-user@<YourPublicIP>
- Accept any prompts to trust the host and complete the connection process.
Step 3: Installing Dependencies on EC2 instance
Before running JBrowse, you need to install some prerequisite tools that help in data processing and serving web content:
$ sudo apt update
$ sudo apt install -y samtools tabix genometools
samtools: For processing sequence alignments.tabix: Indexes a TAB-delimited genome position file and allows fast retrieval of data.genometools: A software tool for working with genomic data.
Step 4: Installing Node.js Using NVM
Node Version Manager (NVM) allows you to install and manage multiple versions of Node.js. It’s very useful for managing the Node.js environment:
$ curl -o- https://raw.githubusercontent.com/nvm-sh/nvm/v0.39.5/install.sh | bash
$ source ~/.bashrc
$ nvm install node
The source command updates your current shell with the changes made by the NVM installation script.
Step 5: Installing JBrowse 2
JBrowse is installed globally using npm (Node Package Manager):
$ npm install -g @jbrowse/cli
$ jbrowse create jbrowse2
- The first command installs the JBrowse Command Line Interface (CLI) globally.
- The second command creates a new JBrowse 2 instance in the
jbrowse2directory.
Step 6: Running JBrowse in the Background
To keep JBrowse running even after you disconnect from the SSH session, use pm2, a production process manager for Node.js applications:
- Install
pm2globally:
$ npm install pm2 -g
- Navigate to the JBrowse directory and start the application using
pm2:
$ pm2 start --name jbrowse "npx serve ."
pm2will manage the application process, restart it on failure, and enable it to start on boot.
Step 7: Configuring Your Genome Browser
Adding Your Own Genome
- To use your own genomic data, you’ll need to modify the
config.jsonlocated within your JBrowse 2 directory (~/jbrowse2) to reference your genome files.
Accessing JBrowse
- Follow the instructions provided in the external guide to assign a custom domain to your EC2 instance if required.
Changing Port from 3000 to 80
- The following
iptablescommand reroutes traffic from port 80 to 3000, allowing users to access the browser without specifying a port number:
$ sudo iptables -t nat -A PREROUTING -i eth0 -p tcp --dport 80 -j REDIRECT --to-port 3000
Step 8: Adding Data to JBrowse
For our browser, we hosted the data on github, however for bigger genomes, it might not be feasible. I tried github LFS, but it did not work with jbrowse2. In this case, it might be beneficial to host the data on AWS or Amazon S3.
To add data from github, don’t forget to use the raw file link. e.g. https://raw.githubusercontent.com/user/repo/main/file.gff3
Anyway, here are the commands I used to populate the JBrowse instance with specific genomic data:
- Adding an assembly:
$ jbrowse add-assembly YOUR_ASSEMBLY_FILE -n "YourAssemblyName" -t indexedFasta --displayName "Your Assembly Display Name" --overwrite
- Adding a track:
$ jbrowse add-track YOUR_TRACK_FILE -n "YourTrackName" -a "YourAssemblyName"
- Adding a synteny track:
As many people requested for synteny tracks to be added, I tried to add synteny tracks. In our case, we created .chain files converted from .maf alignment files.
$ jbrowse add-track YOUR_SYNTENY_TRACK_FILE --type SyntenyTrack --assemblyNames YourAssemblyName1,YourAssemblyName2 --trackId $ "YourSyntenyTrackID" -n "Your Synteny Track Display Name"
Replace YOUR_ASSEMBLY_FILE, YOUR_TRACK_FILE, and YOUR_SYNTENY_TRACK_FILE with the URLs or file paths to your data files.
Step 9: Indexing
Finally, to enable searching within JBrowse:
$ jbrowse text-index
This command creates a full-text search index for feature names, which improves the search functionality within JBrowse. I tried to store the index on github and link to it using the URL of the strix index, however it did not work really well when there were multiple version of annotations for a certain assembly.
Your JBrowse 2 instance should now be configured and accessible via the web at the IP address of your EC2 instance, or through the custom domain you’ve set up.